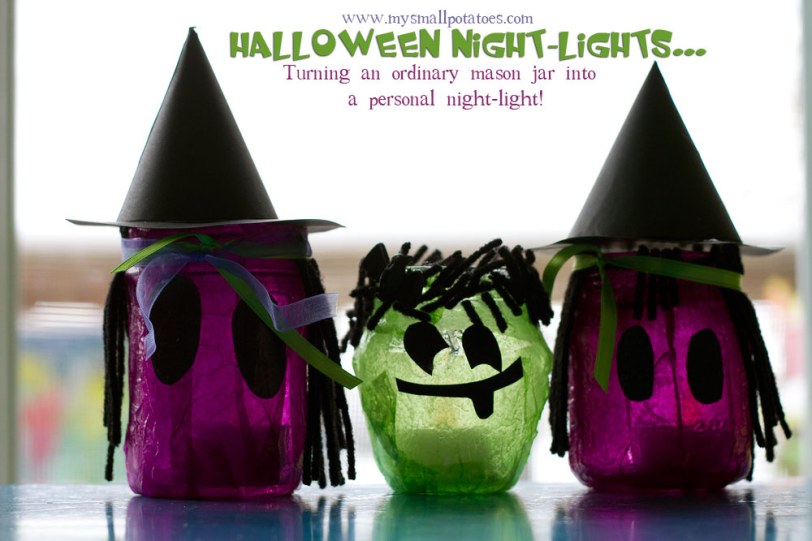
 “When witches go riding, and black cats are seen, the moon laughs and whispers, ’tis near Halloween.” ~19th century Halloween postcard.
Tomorrow is Halloween and my kids are so excited they can hardly wait! We have a family Halloween dance at their school tonight so we’ve been getting our costumes all sorted and ready.
Last week, we made little Halloween night-lights for each of the smalls to keep in their rooms. I had seen many versions of these little lanterns on the internet and was enamoured by them. So cute, so festive, and when lit up, so intriguing! We made ours with battery-powered tea lights so the smalls could keep them in their rooms and not be worried about the possibility of burning the house down!
The best part of this project, is that I didn’t have to go shopping to make it happen. I keep tissue paper from gift bags that my kids receive as gifts, so I raided that stash in my storage cupboard. I always have Mod Podge on hand, and because I am always preserving fruits and veggies, I had plenty of empty jars in my garage! The battery tea lights were snagged from our Fairy’s Night Garden, but you can get them at the dollar store if you don’t have any at home already.
Materials Needed:
Jars, tissue paper, black construction paper, yarn, Mod Podge, paintbrushes, scissors, battery-powered tea lights, ribbon.
I cut coloured tissue paper into small strips and gave each child a jar, a paintbrush, and a pot of mod podge. They painted their jars with the glue. It doesn’t have to be perfect…you can let them paint at their own pace and put as much on as they think they need. This is their project, after all…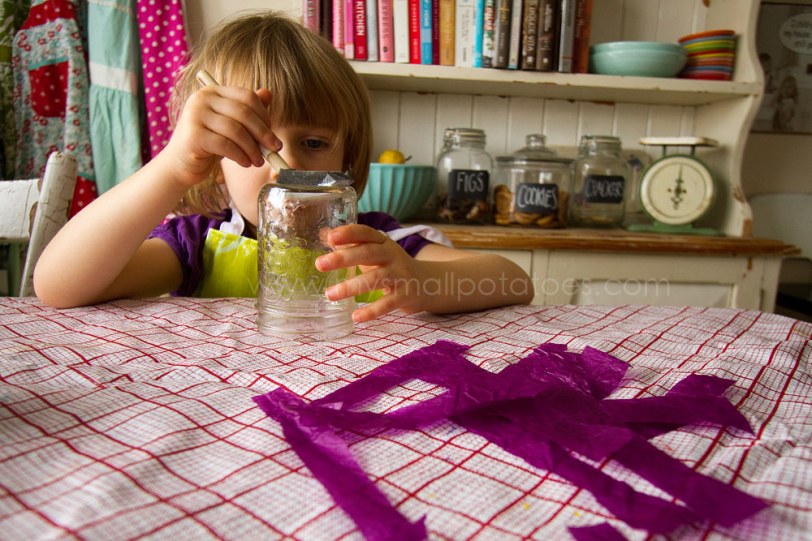 Once they have their jars covered with glue, they can start placing the coloured strips…
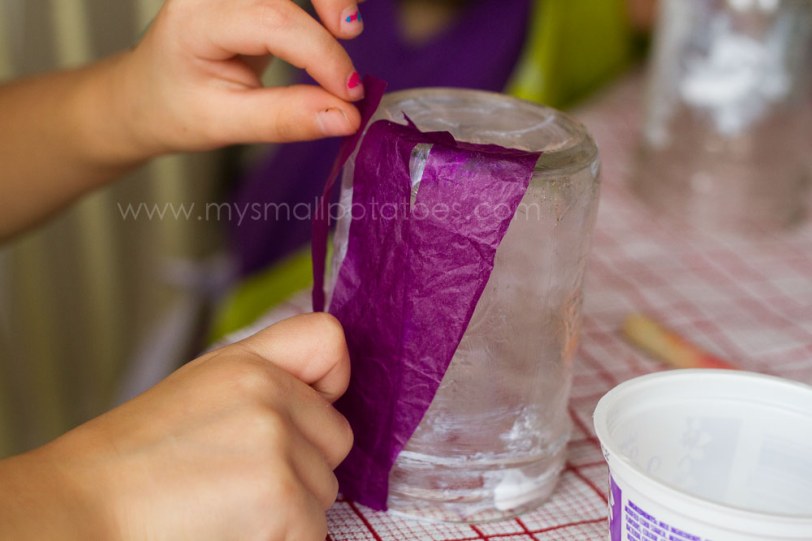
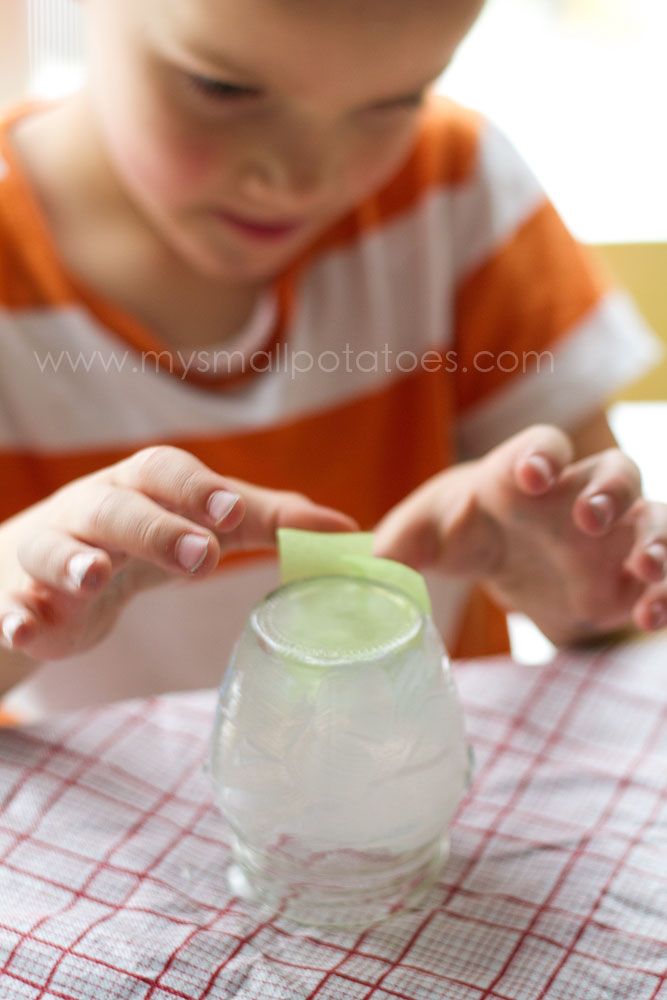 Again, it doesn’t matter how and where they place their strips…as long as they are happy with how it looks.
Once they have their jars covered, the children need to paint a coat of glue on top of their strips of paper, to seal them to the jar…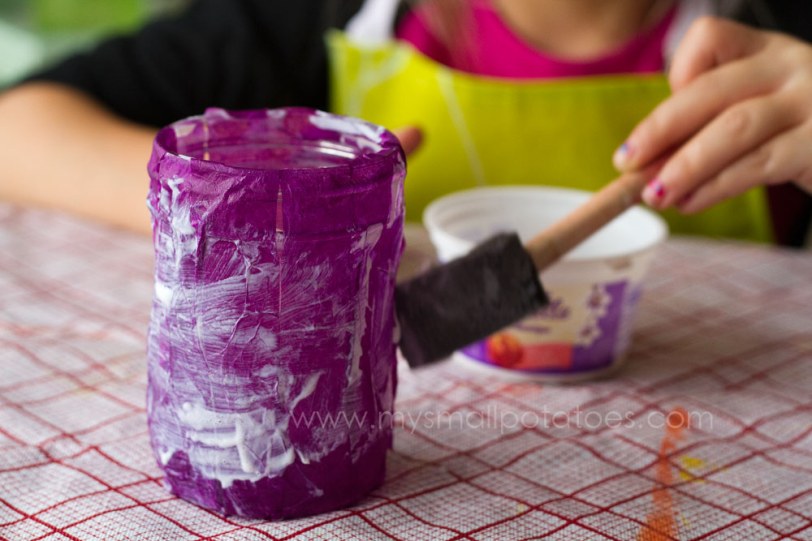 It doesn’t matter how much they “glob” on, as the Mod Podge dries clear. Once the outer coat of glue is on, the children can put eyes, or noses, and/or mouths on their lights. I had these cut out of construction paper before we started the project.
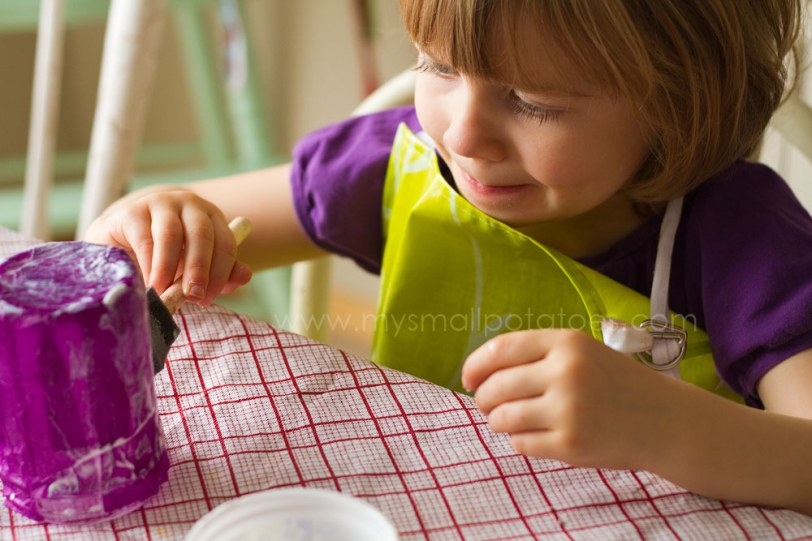 Now that the basics are done, you can start adding hair to your lights. I had longer yarn hair for the witches, and short little chunks of yarn for frankenstein…
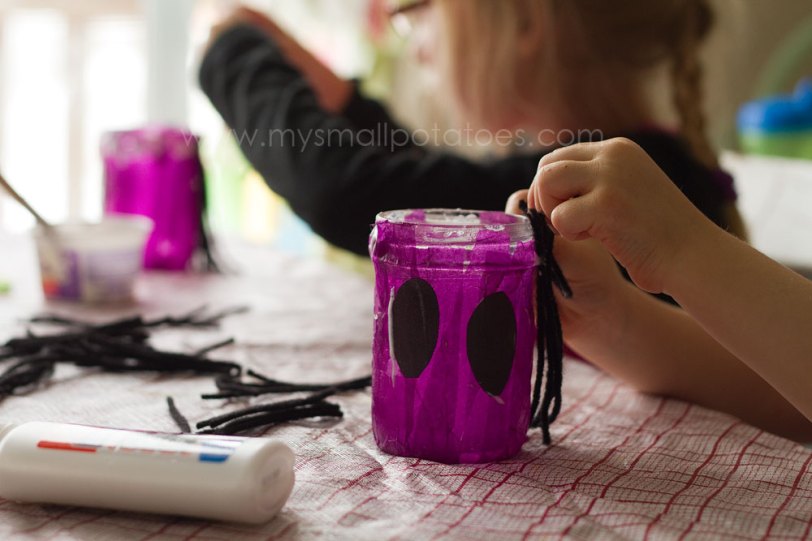 When the glue was all dried, we tied ribbon around the witch’s head and placed our battery-powered tea lights inside…The smalls were thrilled with the result! They got so excited, we took them into the laundry room to see how they glowed…
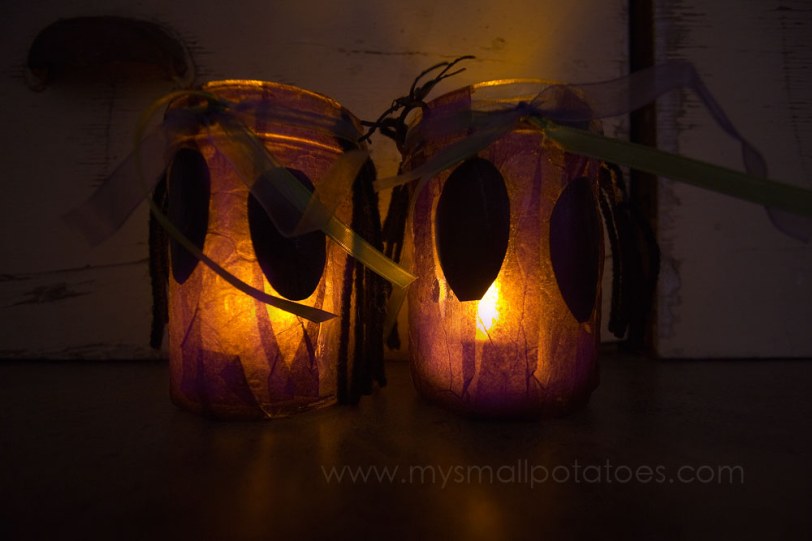 Excellent!!
Then we decided the witches needed hats! Because we weren’t using real candles, there was nothing stopping us! I fudged my way through making the hats with a bit of black card-stock…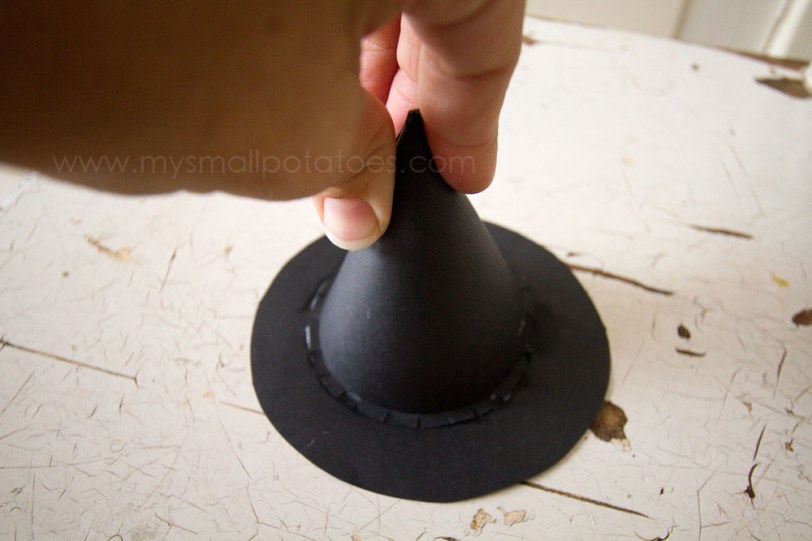 My bottom brim is a SOLID circle…there is no hole in the middle, as I didn’t want it to slide down the jar if I made the hole too large. I wanted the hat to just sit on top of the jar like a lid. You can find directions here, if you want to save yourself some trial and error frustration. (Just remember to make the hat small enough to fit your jar)
So there you have it. A simple, inexpensive way to make your own night-light. You could make them in any colour or theme, if you like! That way, you can use them all year-round!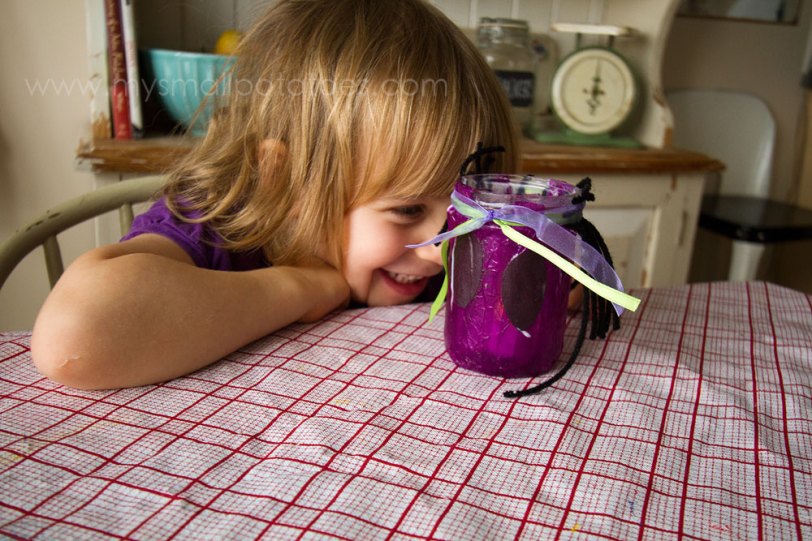
Thanks for stopping by!
~Arlee, Small Potatoes

Love these! The hats are a wonderful add-on!
Thank you!!! When we finished the gluing, I thought the witches looked a bit like purple hippies, so I figured we ought to make them some hats! Lol!!!
This is great! I think we will make turkey ones for next month. I have been dreading the Halloween removal as my kids have been IN LOVE with all of our decorations (including battery light pumpkin lantern) in their room. I was trying to think of somewhere to find a turkey one! But, thanks to you, we will make it! I’m going to use a plastic jar as my guys are really little, but should still give same fun glow 😉
Turkeys!!! What a great idea!! :):)
What a great idea I have everything but mod on hand right now because we just ran out 😦 otherwise I would be doing this little project right now with my little one.
Perhaps you could try white glue? I’m not sure how well it would dry, but maybe it’s worth a try?
I think I am going to grab some mod podge on my work break tomorrow. Maybe we will have some time before we go out trick or treating.
I just love this! And wonderful photos, as usual 🙂
Thank you! So much!! :):)
Hi: I love the project, and most of all I appreciate your philosophy regarding kids, independence and creativity.
Proud Gramma